How to set up the Multi-Ring Application
If you need incoming calls on your toll-free number or local number to be forwarded
to multiple telephone numbers (landline or mobile) and/or multiple SIP endpoints,
DataKnowl's Multi-Ring Application is the perfect solution for your needs.
Before explaining how to configure the Multi-Ring Application, let us better understand what it is and why it differs from the Forwarding Application.
The Forwarding Application permits you to specify only a single phone number/endpoint to which all incoming calls will be forwarded. But, the DataKnowl Multi-Ring Application allows you to select a maximum of 10 telephone numbers and/or endpoints that will ring sequentially (one after the other). You can then decide to have the incoming calls on your toll-free number or local number managed by a real team, ringing the phone numbers /endpoints of the different agents and thus reducing the risk of mismanaging or losing important calls.
Having clarified these aspects, let us start by finding out how to configure the Multi-Ring Application in DataKnowl Contact.
First, create a Multi-Ring Application. From the DataKnowl dashboard, click on the Contact icon, [1] in the image below.

Then, click on the ADMIN link [2] (if the ADMIN link is not displayed on your dashboard, it means that you are unauthorized to do the setup and must contact your administrator).

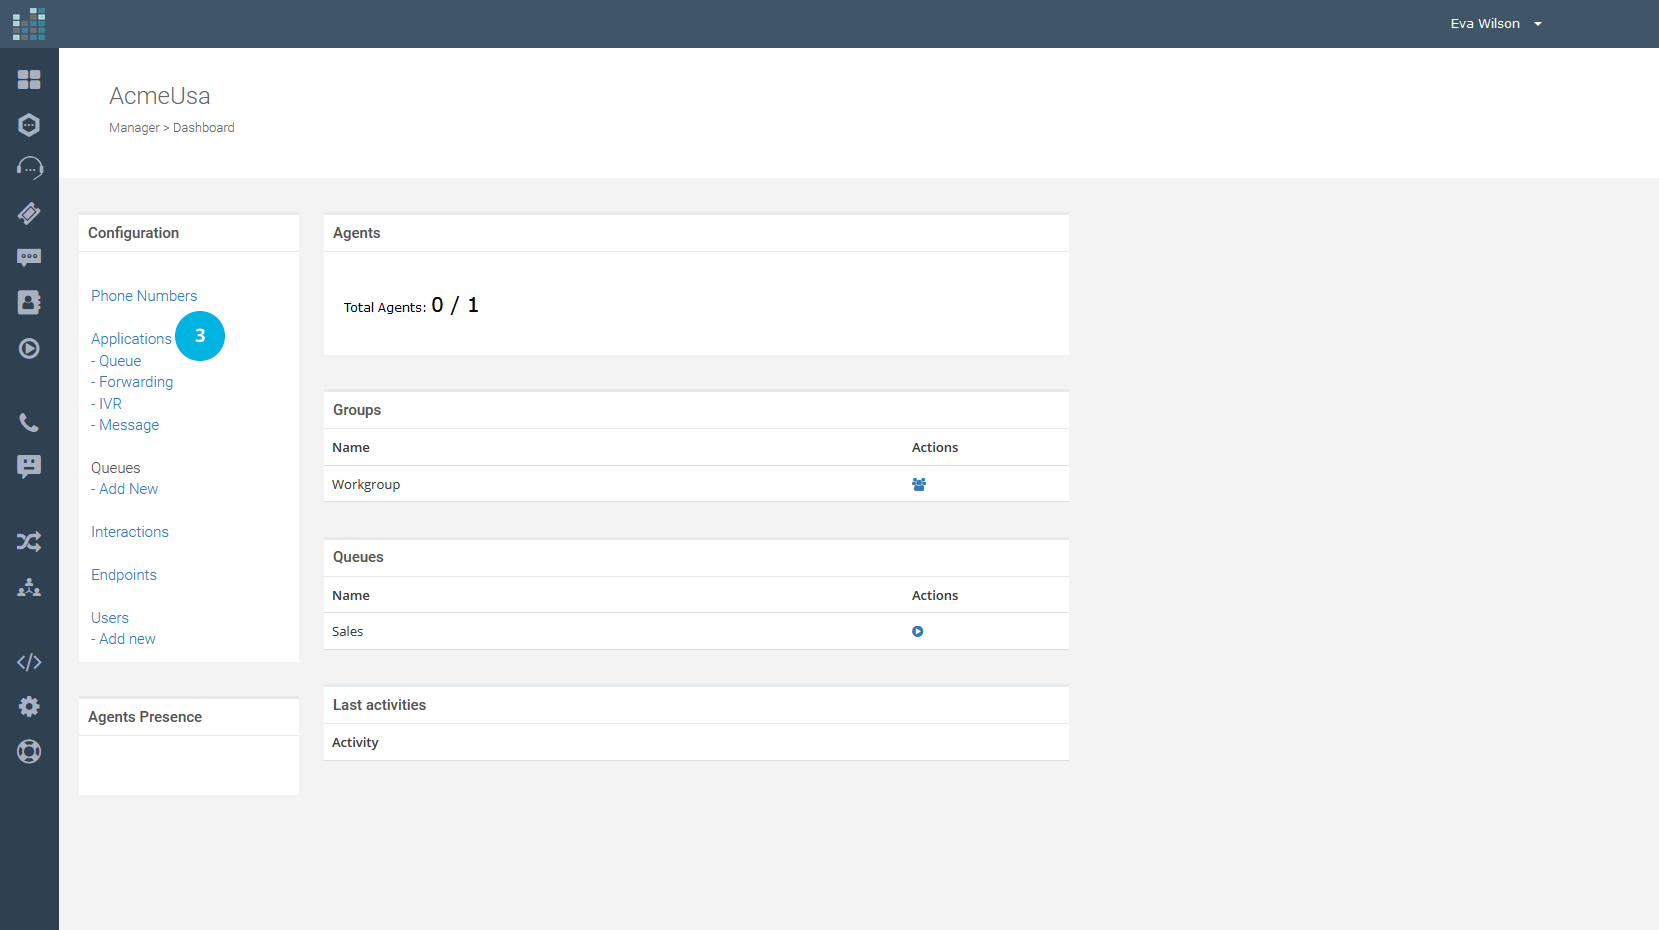
Now click on the Applications link [3]
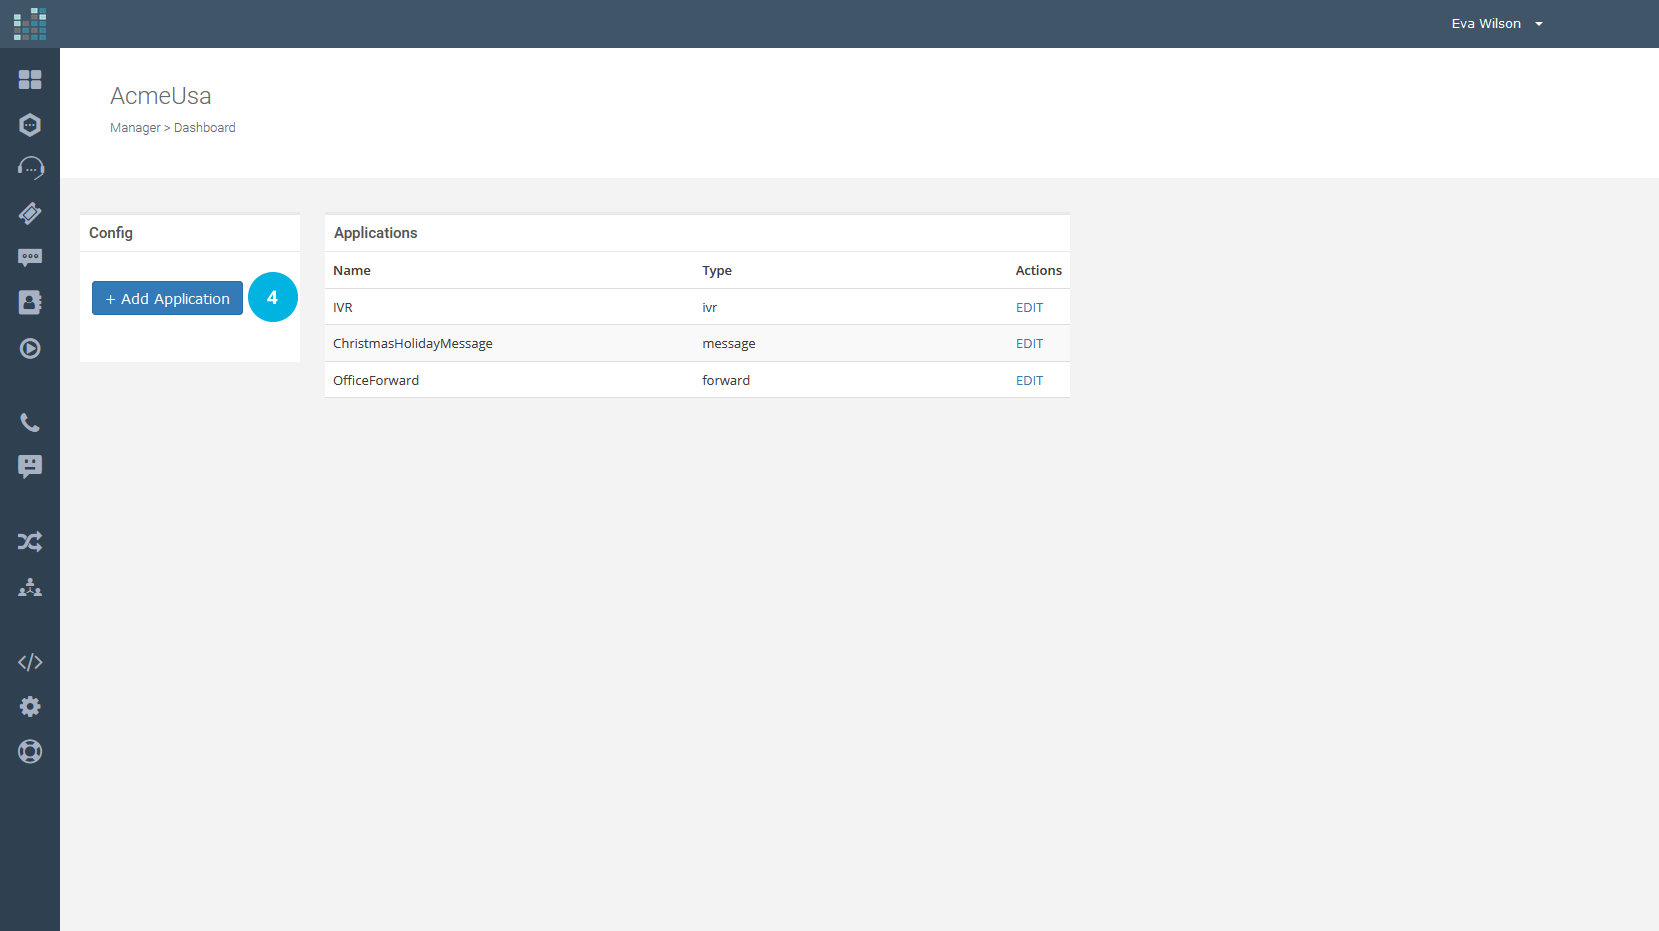
and then on the + Add Application button [4].
NOTE: The application’s number that can be created varies with the subscription plan.
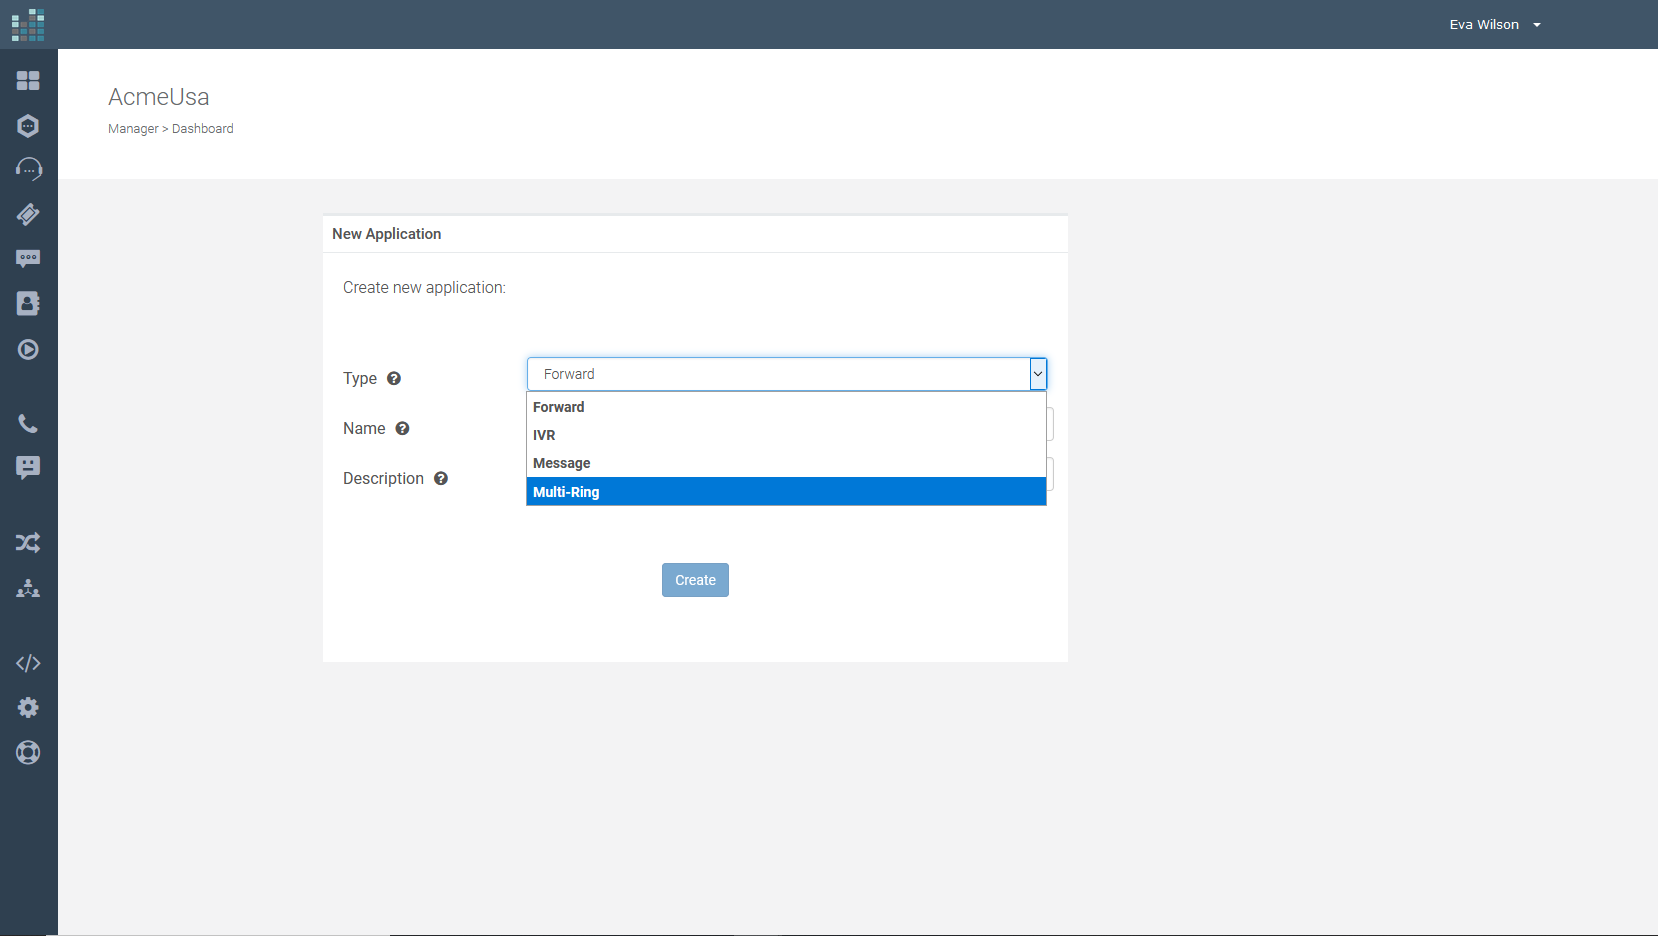
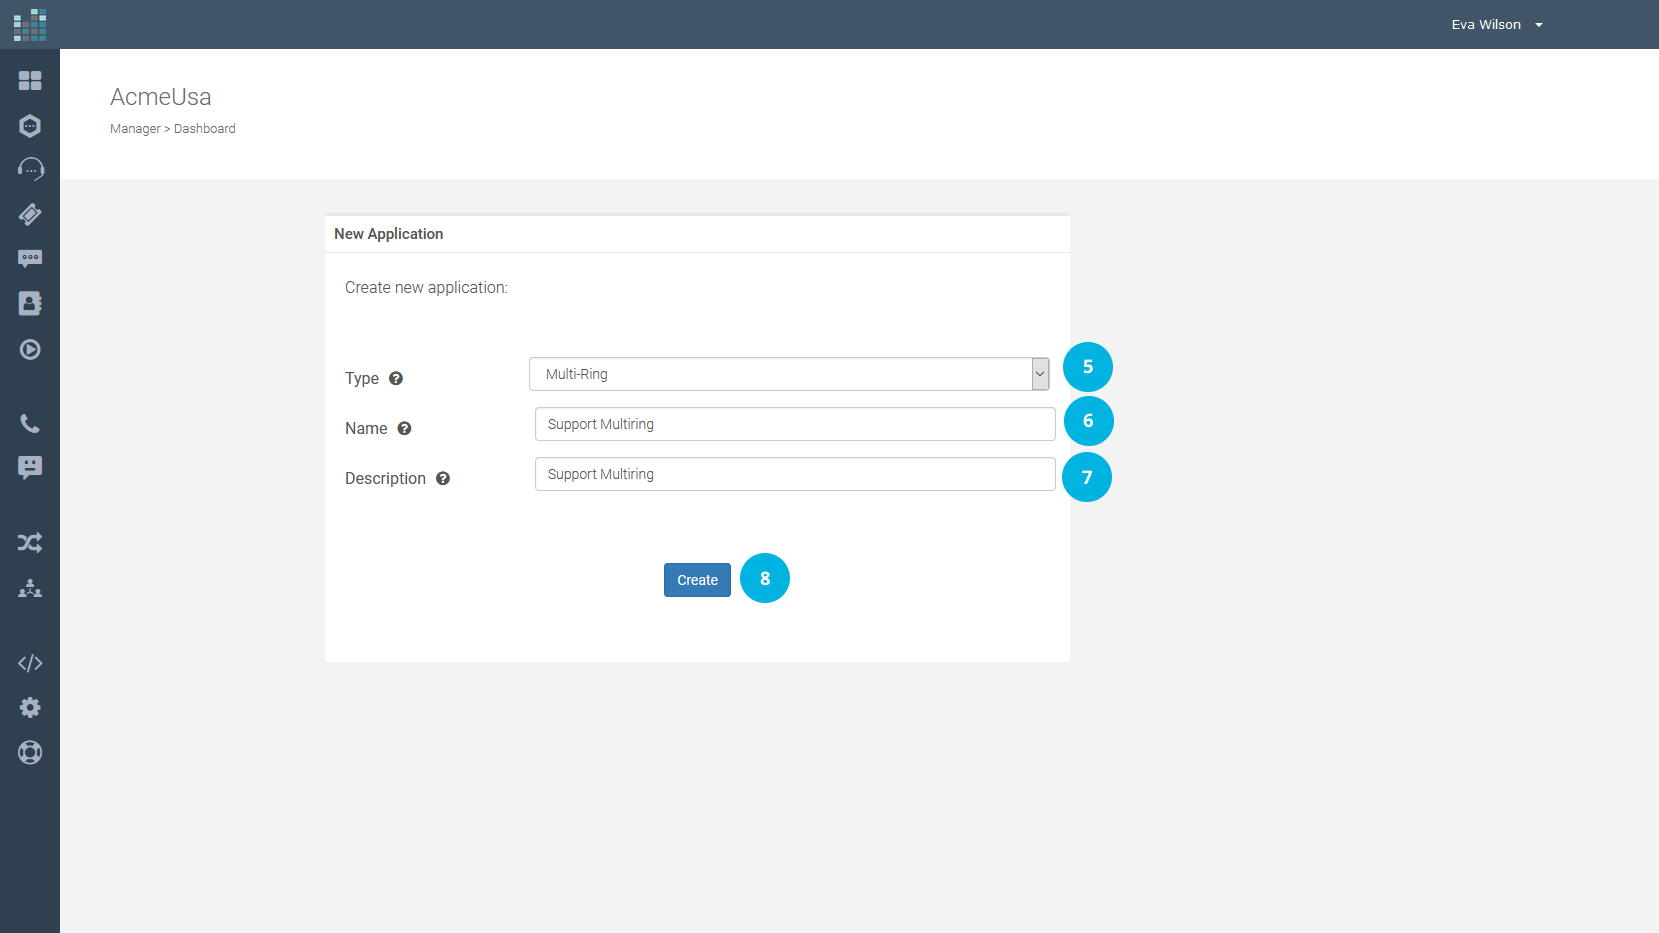
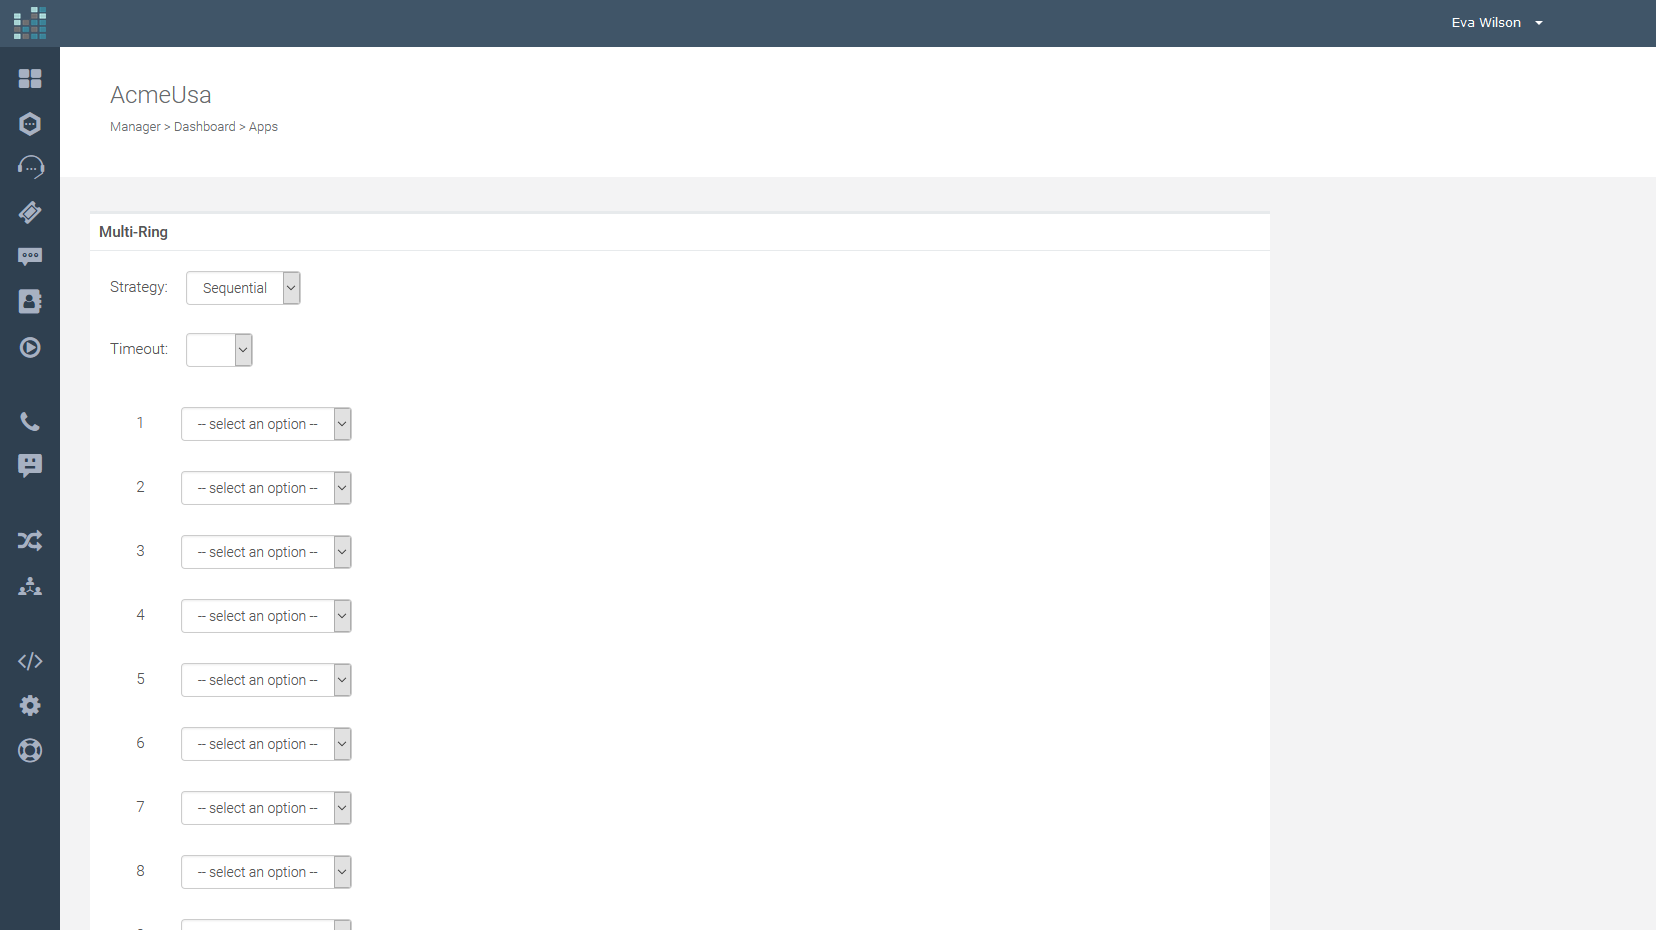
Now select Multi-Ring from the drop-down menu [5], choose a Name [6] for the new Application (e.g., Support Multiring) and add a short Description [7]. Finally, click on the Create button [8].
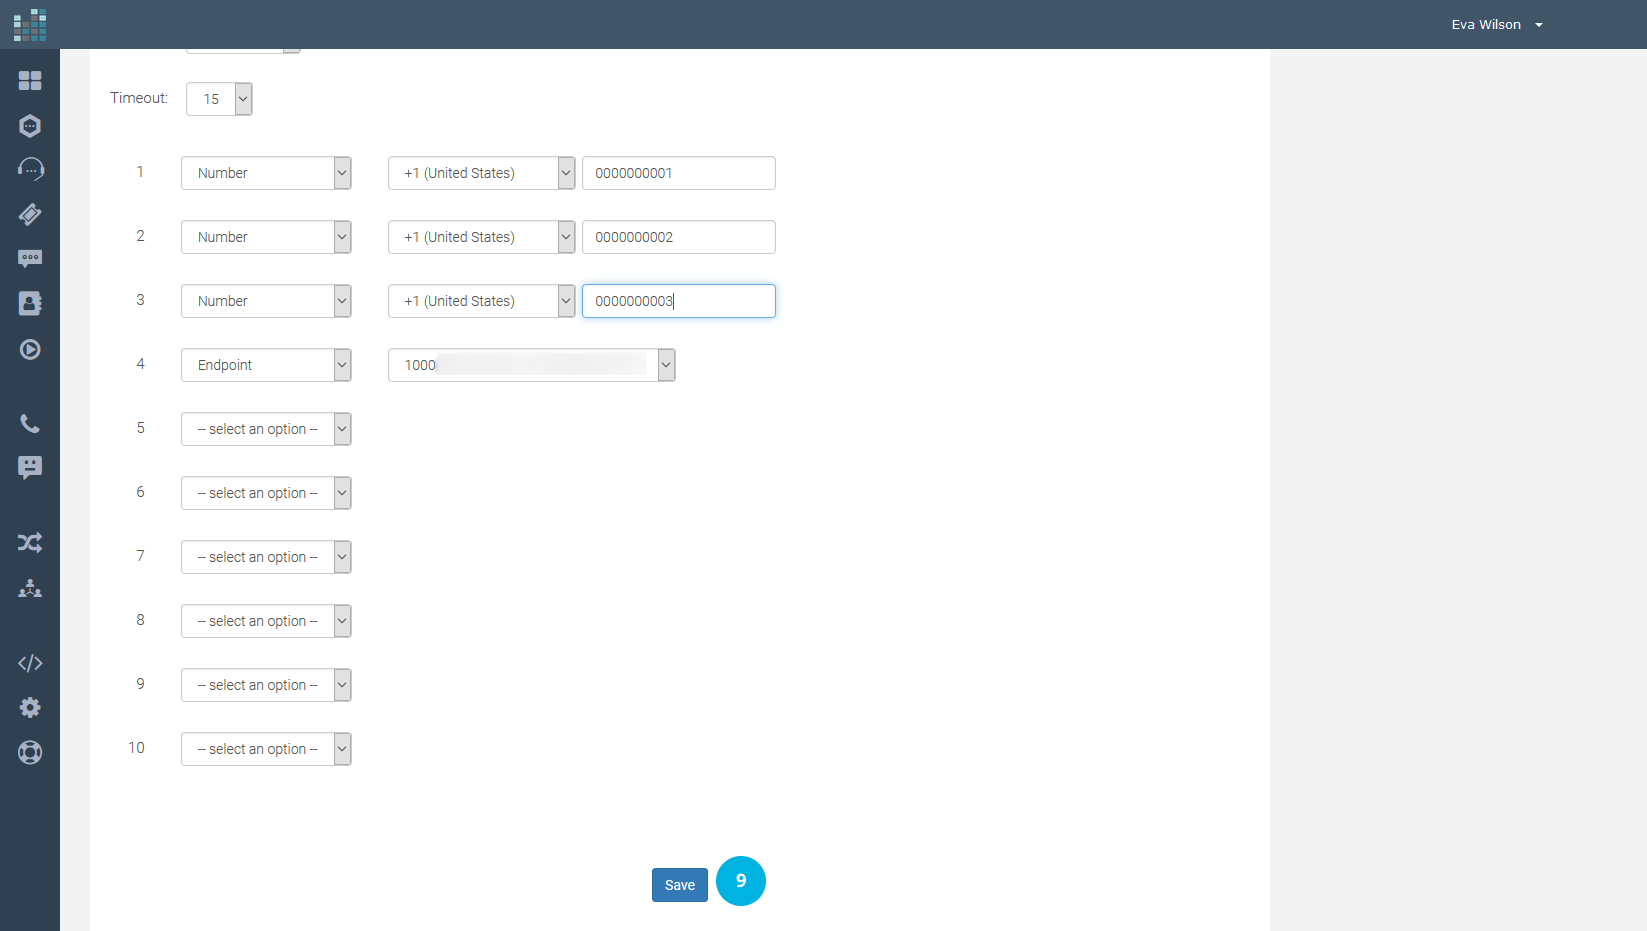
To enter a phone number, select Number from the drop-down menu, otherwise, select Endpoint. In the example, three numbers will ring in the chosen order, from the first to the third.
It is possible to:
Click on the Save button [9] to create the new application.
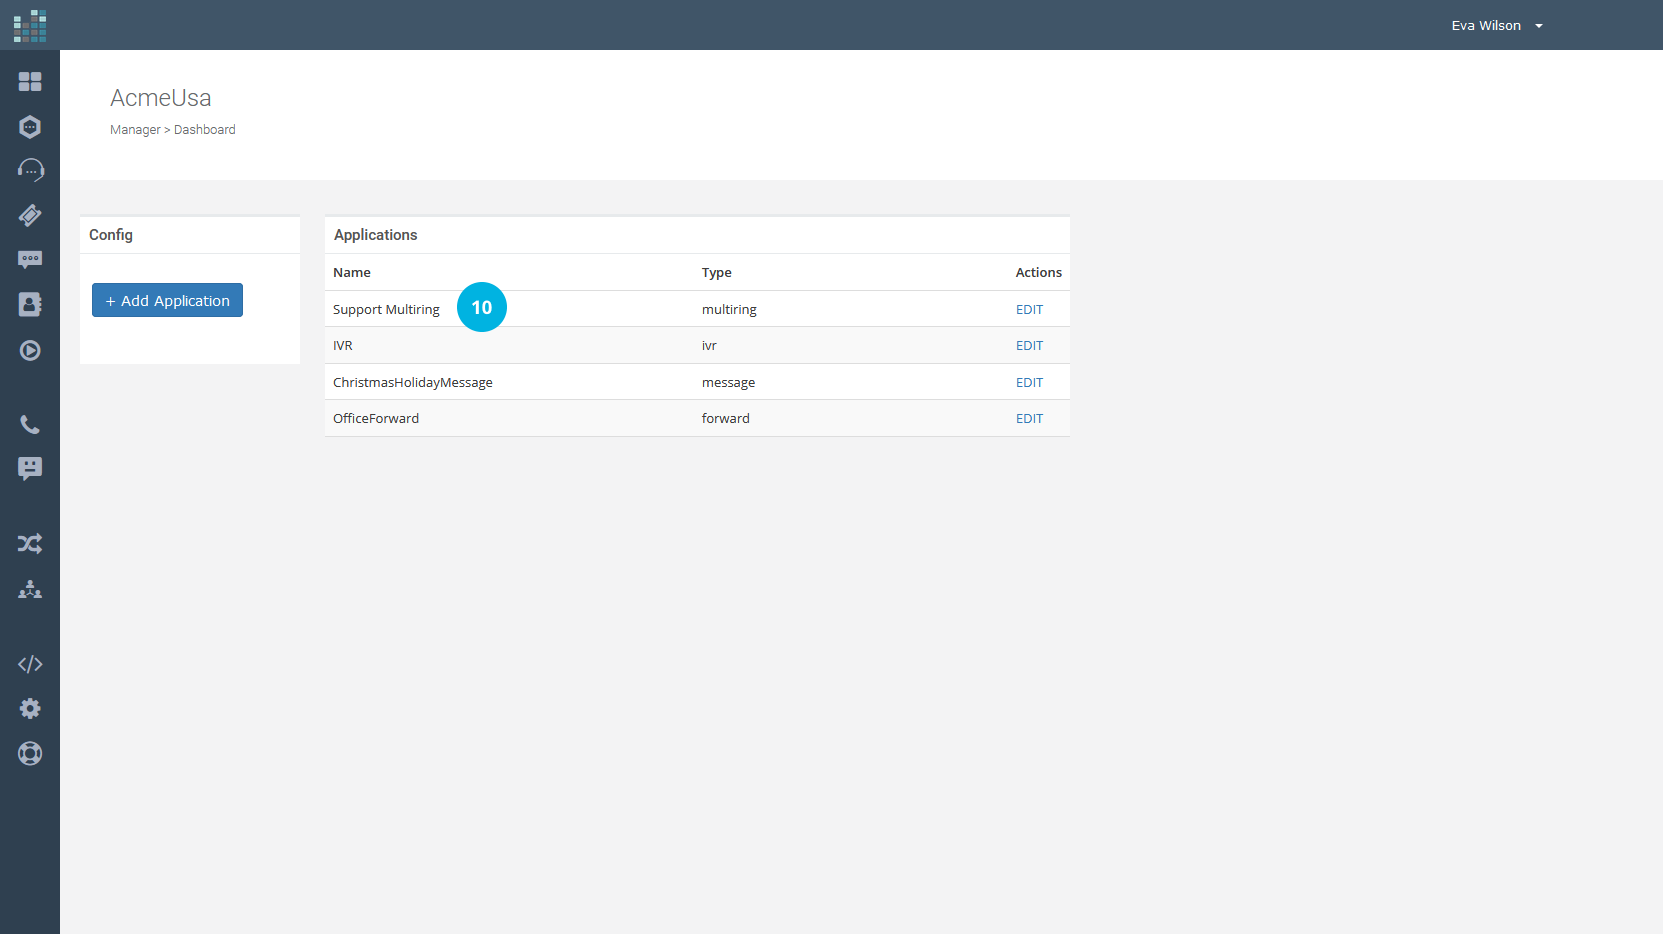
The Support Multiring Application [10] has been successfully created and is now added to the list of Applications.
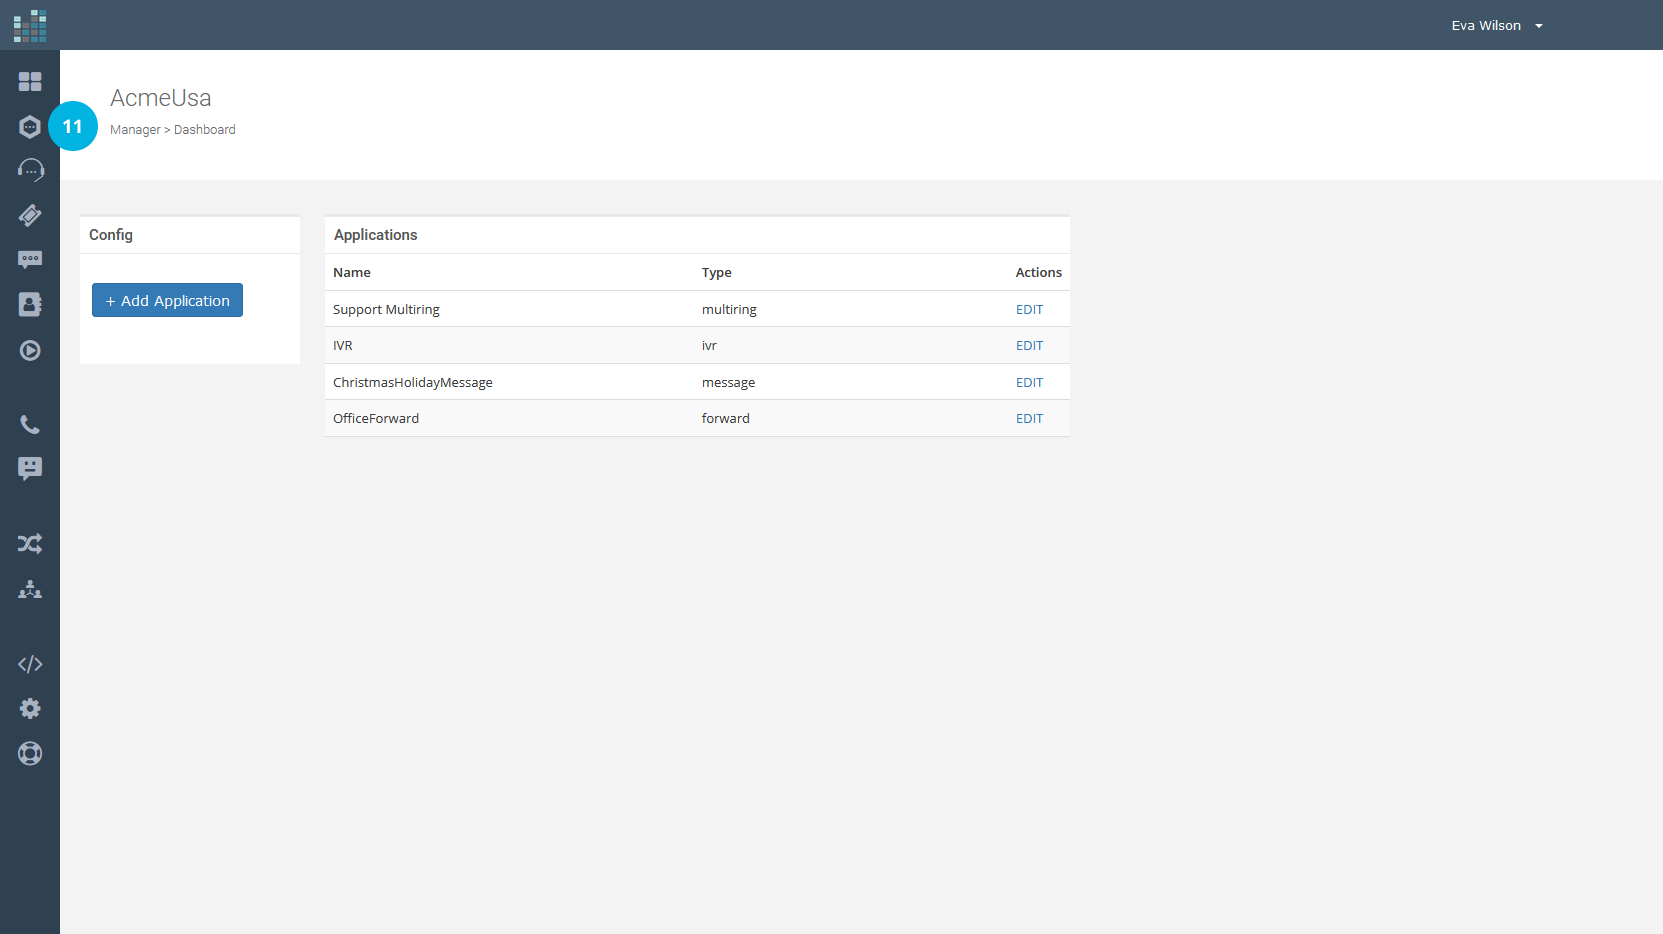
To make it active, associate the Multi-Ring Application to the phone number.
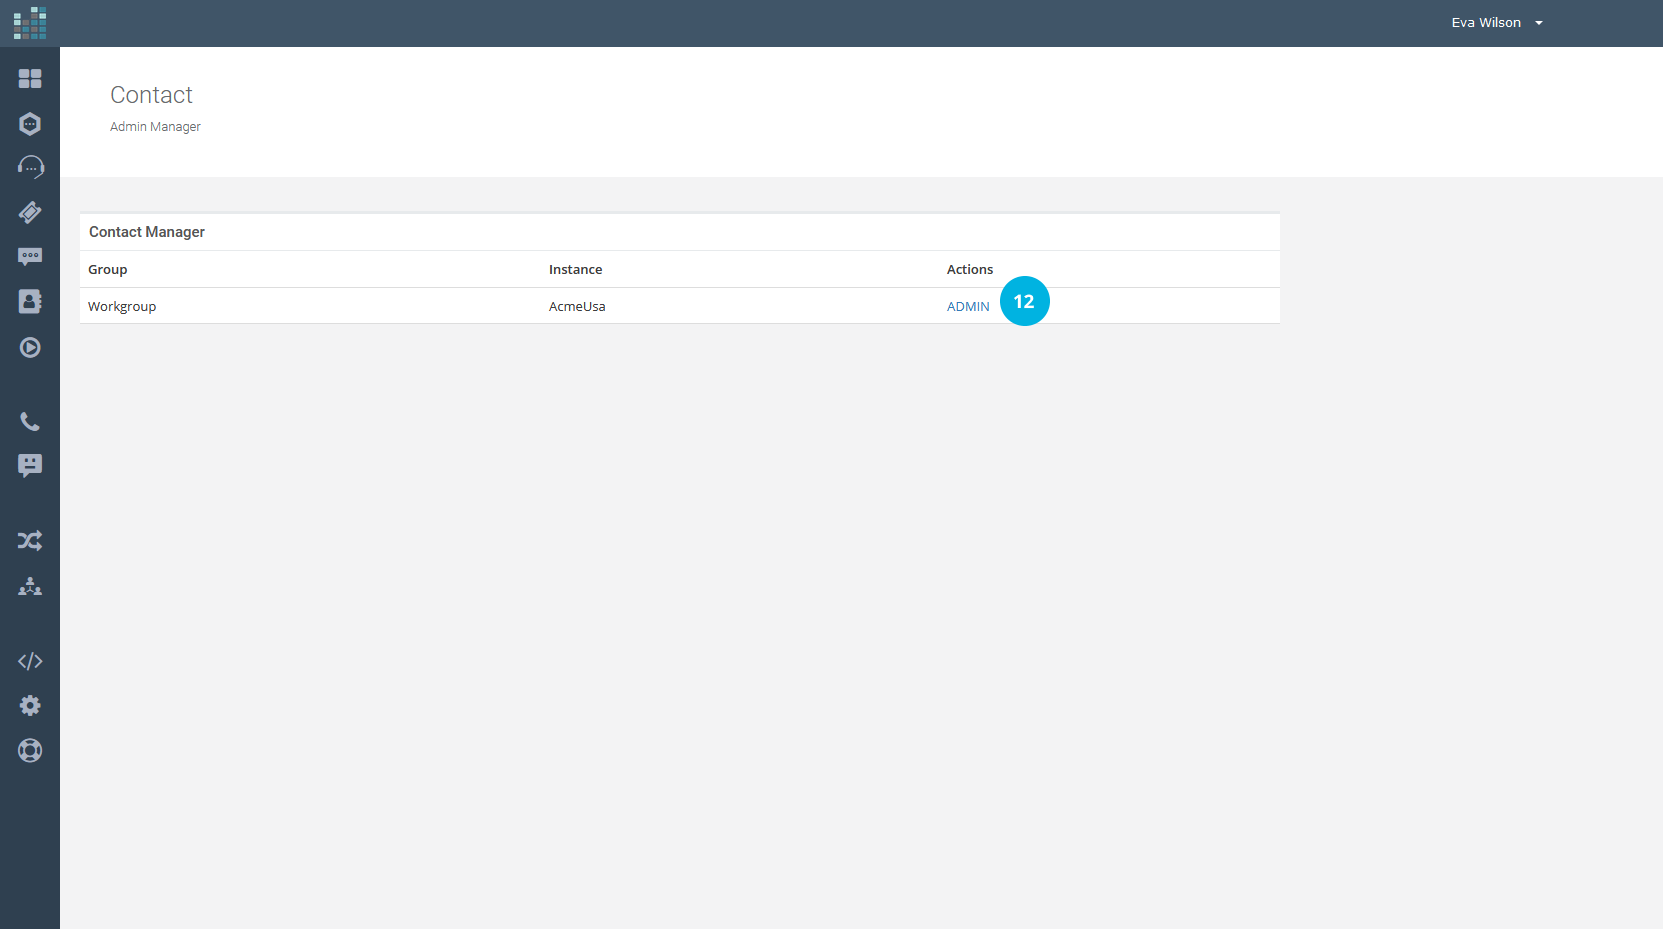
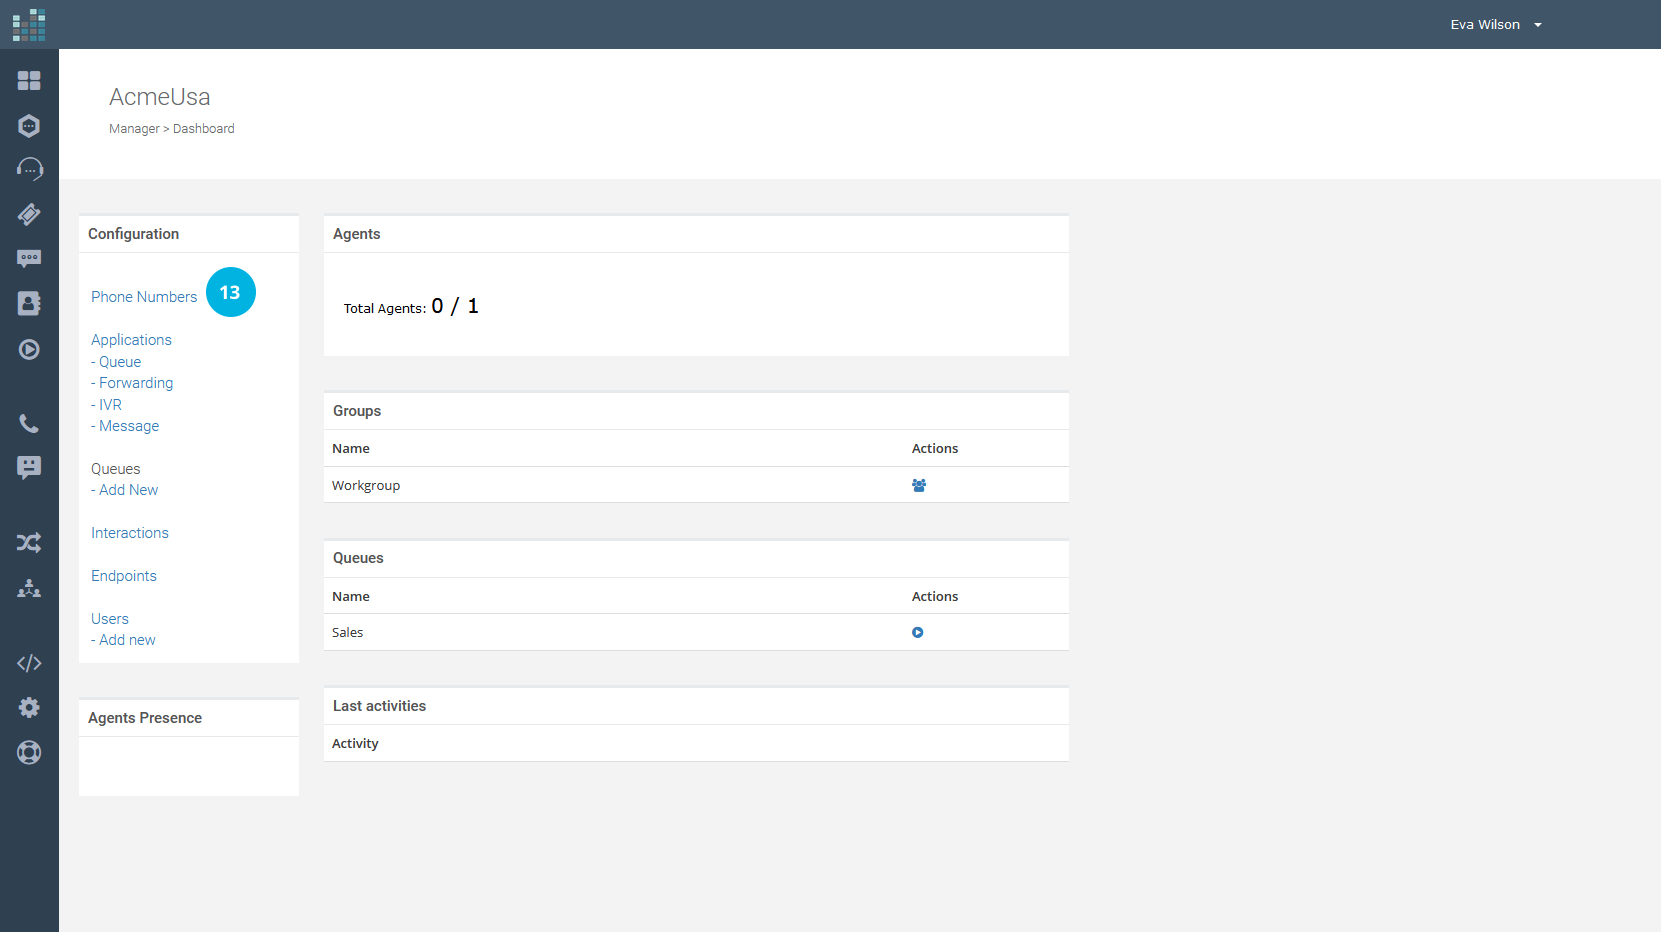
Click on the Contact icon [11], click on ADMIN [12] and choose Phone Numbers [13].
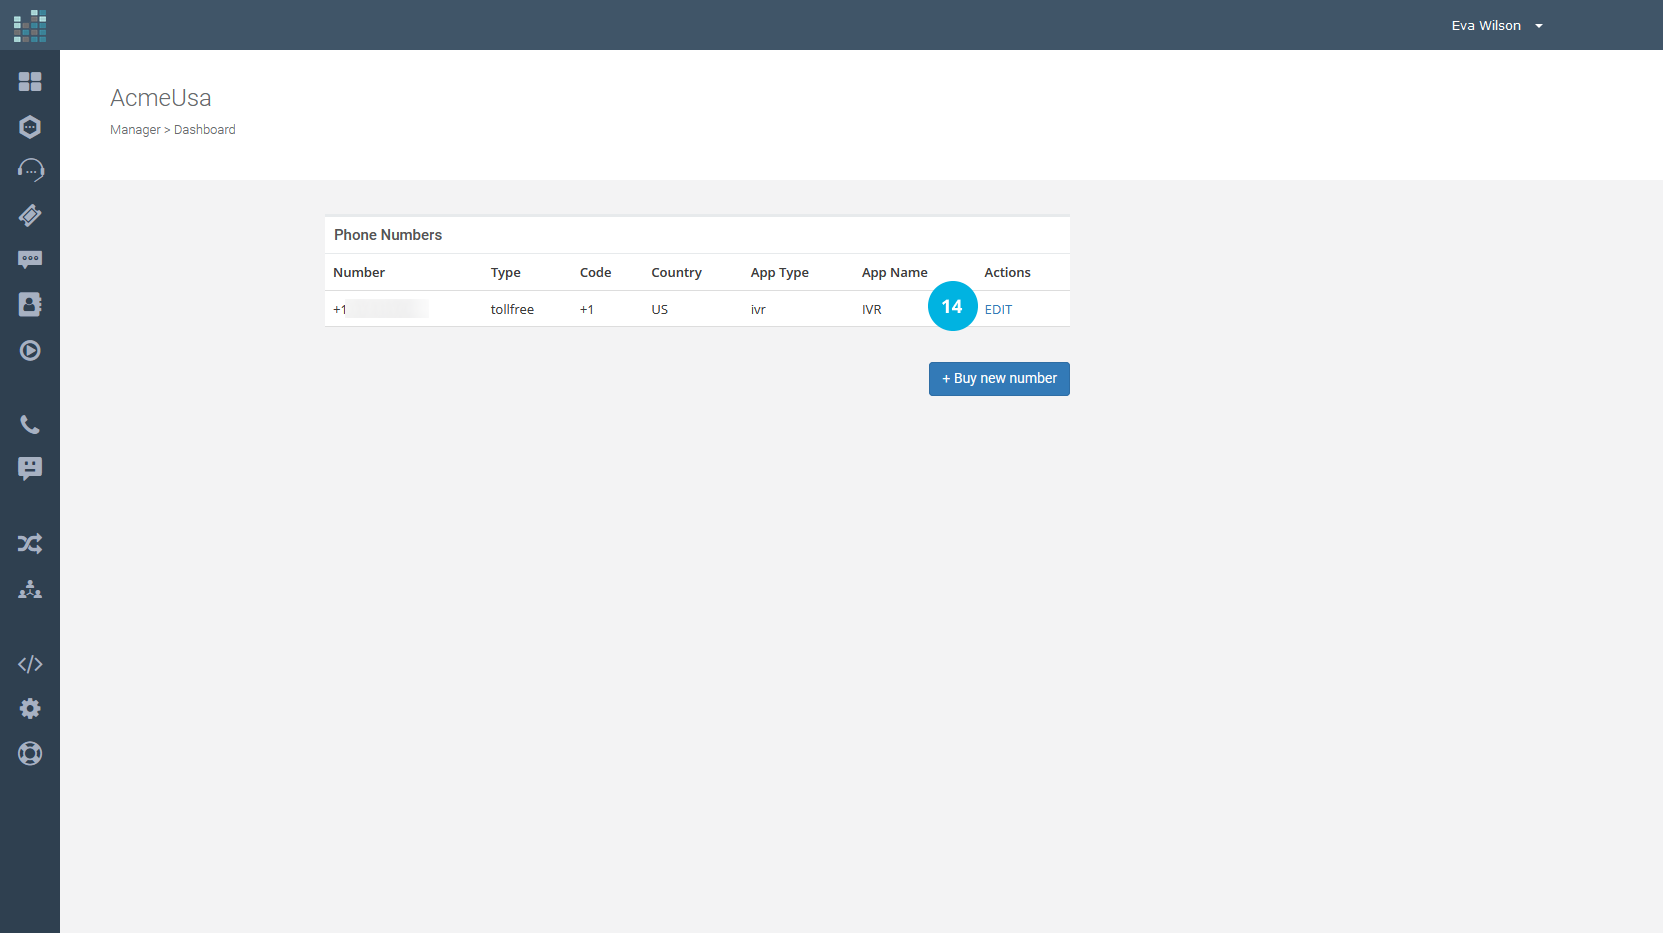
If the incoming calls on the toll-free and/or local number are to be forwarded to the list of numbers in the Multi-Ring Application, click on the EDIT link [14] and, from the drop-down menu, choose the Multi-Ring Application (in this example, Support Multiring) [15].
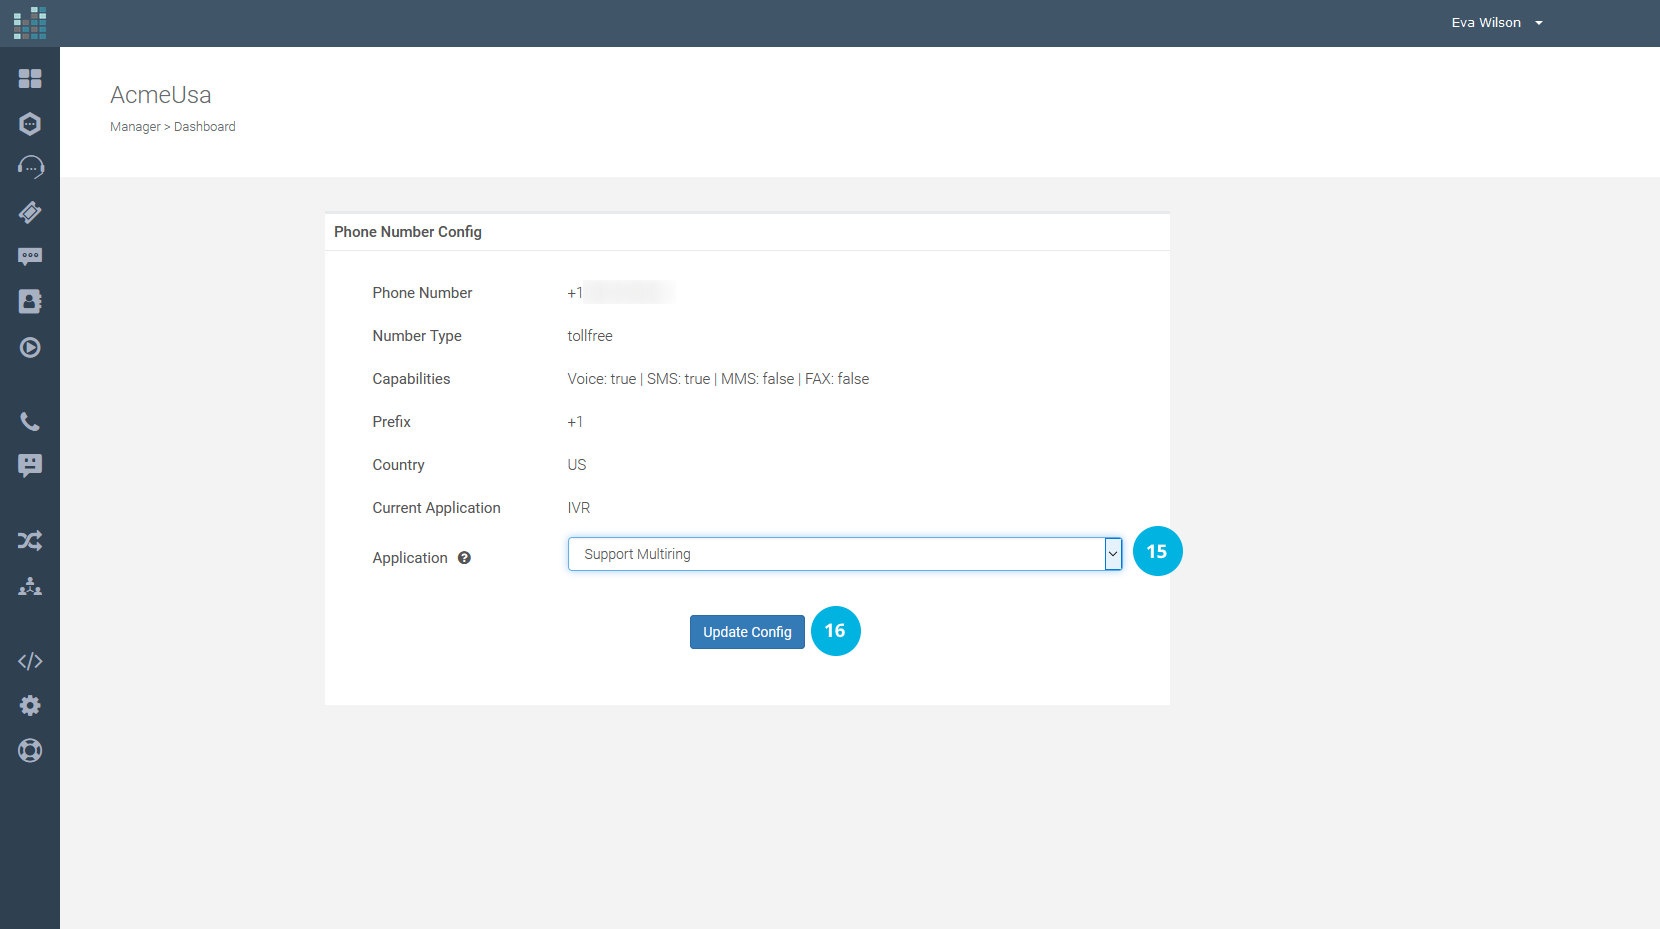
To update the configuration, click on the Update Config button [16].
Done! The Support Multiring Application is now active on the phone number.
Related Questions:
How can I set up the Multi-Ring Application ?
Before explaining how to configure the Multi-Ring Application, let us better understand what it is and why it differs from the Forwarding Application.
The Forwarding Application permits you to specify only a single phone number/endpoint to which all incoming calls will be forwarded. But, the DataKnowl Multi-Ring Application allows you to select a maximum of 10 telephone numbers and/or endpoints that will ring sequentially (one after the other). You can then decide to have the incoming calls on your toll-free number or local number managed by a real team, ringing the phone numbers /endpoints of the different agents and thus reducing the risk of mismanaging or losing important calls.
Having clarified these aspects, let us start by finding out how to configure the Multi-Ring Application in DataKnowl Contact.
First, create a Multi-Ring Application. From the DataKnowl dashboard, click on the Contact icon, [1] in the image below.

Then, click on the ADMIN link [2] (if the ADMIN link is not displayed on your dashboard, it means that you are unauthorized to do the setup and must contact your administrator).

Now click on the Applications link [3]

and then on the + Add Application button [4].
NOTE: The application’s number that can be created varies with the subscription plan.

Now select Multi-Ring from the drop-down menu [5], choose a Name [6] for the new Application (e.g., Support Multiring) and add a short Description [7]. Finally, click on the Create button [8].


To enter a phone number, select Number from the drop-down menu, otherwise, select Endpoint. In the example, three numbers will ring in the chosen order, from the first to the third.

It is possible to:
- Enter up to a maximum of 10 numbers and/or endpoints that will ring sequentially.
- Set the timeout, which is the time, in seconds, to wait before an unanswered call is forwarded to the next number/endpoint (ring time). We recommend that you do not set timeout values that are too low.
- Exclude some numbers/endpoints from the list by selecting the <not used> option from the drop-down menu. No calls will be forwarded to the number/endpoint that has activated this option.
Click on the Save button [9] to create the new application.

The Support Multiring Application [10] has been successfully created and is now added to the list of Applications.

To make it active, associate the Multi-Ring Application to the phone number.
Click on the Contact icon [11], click on ADMIN [12] and choose Phone Numbers [13].


If the incoming calls on the toll-free and/or local number are to be forwarded to the list of numbers in the Multi-Ring Application, click on the EDIT link [14] and, from the drop-down menu, choose the Multi-Ring Application (in this example, Support Multiring) [15].


To update the configuration, click on the Update Config button [16].
Done! The Support Multiring Application is now active on the phone number.
Related Questions:
How can I set up the Multi-Ring Application ?
© 2024 Complexity Intelligence, LLC